# Promotion tools
Promotion tools give you several options to advertise specific offers, brands, products, categories or even communicate to your customers with specific shopping behavior. Promotion tools are great sales help and you should try to use them as much as possible.

# On this page
# Add new promotion
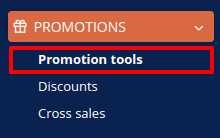
In your Shop or Booking section go to Promotions and click Promotion tools.
To add a new promotion click Add promotion
 .
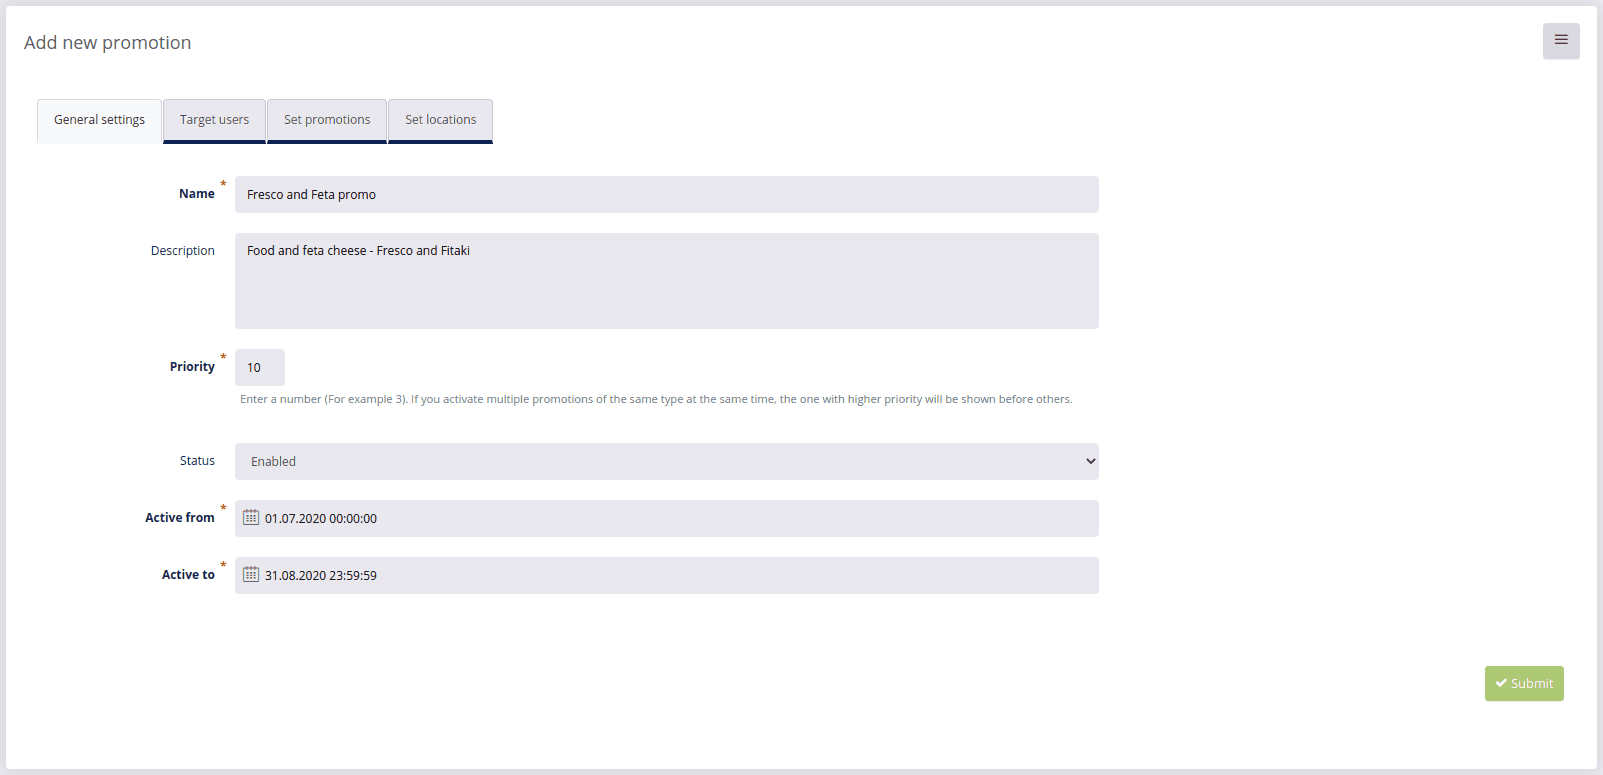
.GENERAL SETTINGS - In the general settings you will save all the main information about your promotion and most importantly you will set the priority of your promotion. Simply remember that the higher the number the higher is the promotion’s priority.
Set conditions under which the promotion will work:- Name your promotion and keep it simple.
- Add a Description, but that is not obligatory.
- Set Priority. Promotions with higher priorities will work first. Example: If you set different, but similar promotions, like injecting different banners in the same position, the promotion with priority number 3 will replace the banner with the same priority depending on the date it was added. If you added promotion with priority number 3 yesterday, the promotion with the same priority from today will replace the one from yesterday.
- Choose Status Enabled for active promotion and choose Status disabled if you’d like to pause or terminate promotion before scheduled expiry.
- Active from - Active to - Set the time frame within which your promotion will work.
TARGET USERS - When setting promotions, you can narrow targeting people to as low as 1 person. Of course these occasions are quite rare but promotion tools allow targeting users in so many different ways you can literally guide your customers through very personalized shopping and browsing experiences.
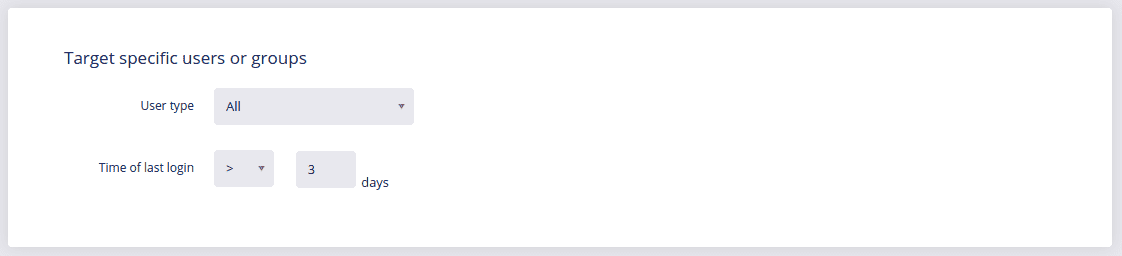
Target specific users or groups
To Target specific users or groups choose between several options: All, Logged in, Not logged in. You can also specify the time of last login, which is higher/lower than certain days ( 3 days). If you do not want to limit your promotion, just select All.
Note
This tools is strictly for testing! If you do not want this action to be activated, you have to delete all these receivers and Promotion testing field has to be empty.
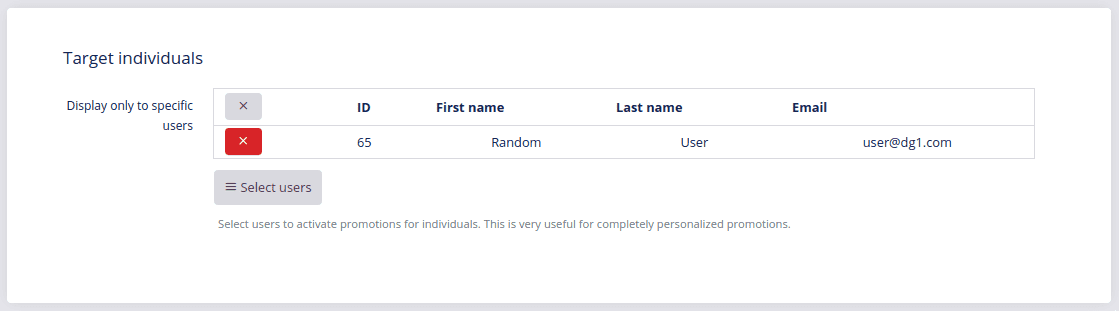
Target individuals
You can test or send your promotions to individual customers by selecting users from your contacts list and enable them to see the promotion in the front end exclusively. Check the users you want to target and click OK.
Note
This tools is strictly for testing! If you do not want this action to be activated, you have to delete all these receivers and Promotion testing field has to be empty.
Target new shop users
Target users who perform their first order in your shop. This targeting can not be applied to the booking customers.

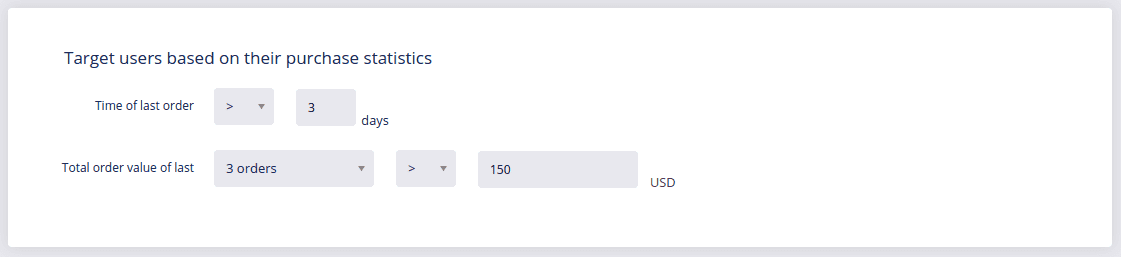
Target users based on their purchase statistics
- Time of last order, higher or smaller than x days. Example: higher than 3 days (> 3 days).
- Average order value of last (1-10) orders. Define the price in your currency.
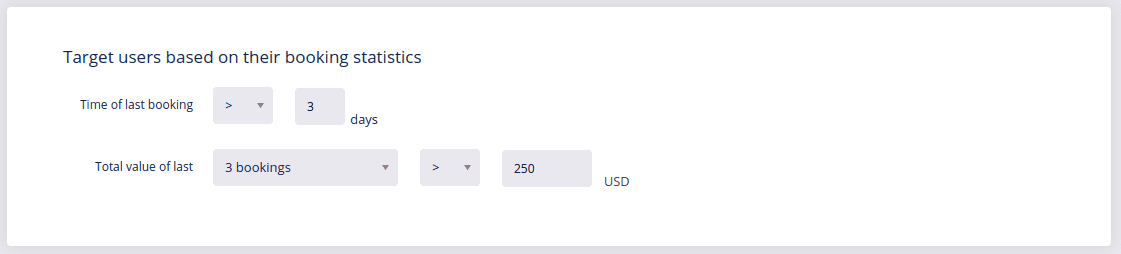
Target users based on their booking statistics
- Time of last booking, higher or smaller than x days
- Total value of last (1-10) bookings. Define the price in your currency.
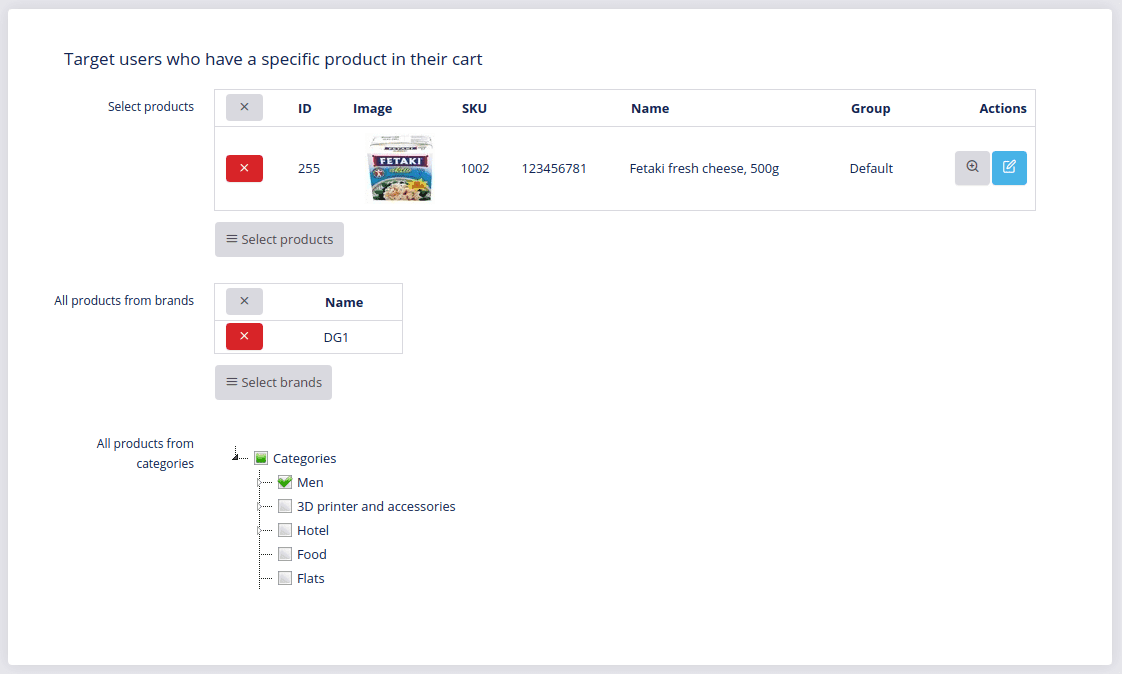
Target users who have a specific product, brand or category in their cart
You can choose a product and the customers who will put this product in their cart, will be the recipients of your promotion. You can choose/check the product/brand and category and confirm it with OK.
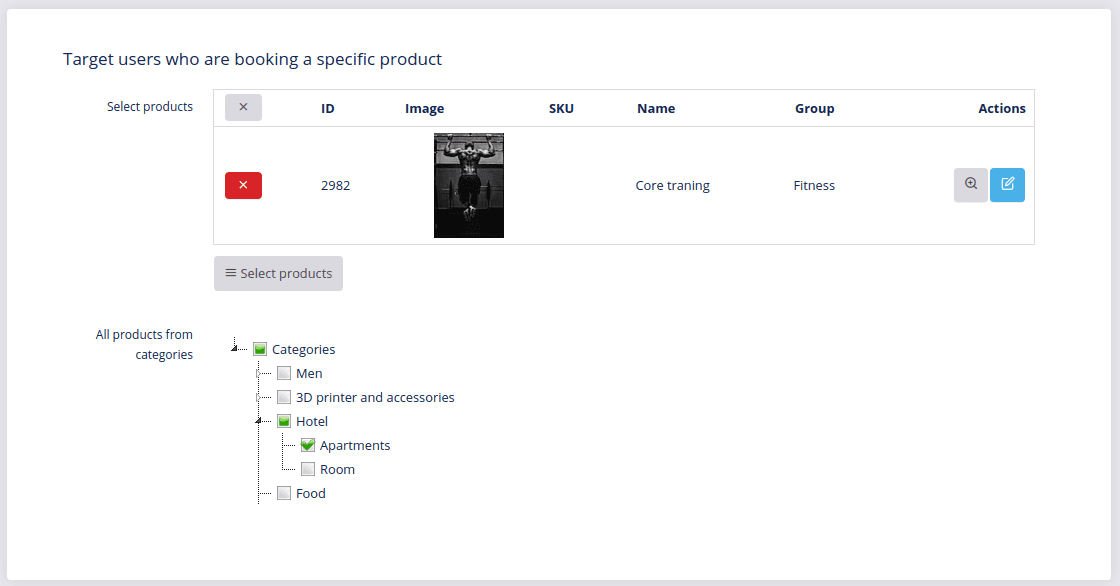
Target users who are booking a specific product
Customers must book specific products or categories of the booking products to be the recipients of the promotion.
Target users who purchased/booked specific products
User must buy specific products, brand or a category to be recipient of the promotion.

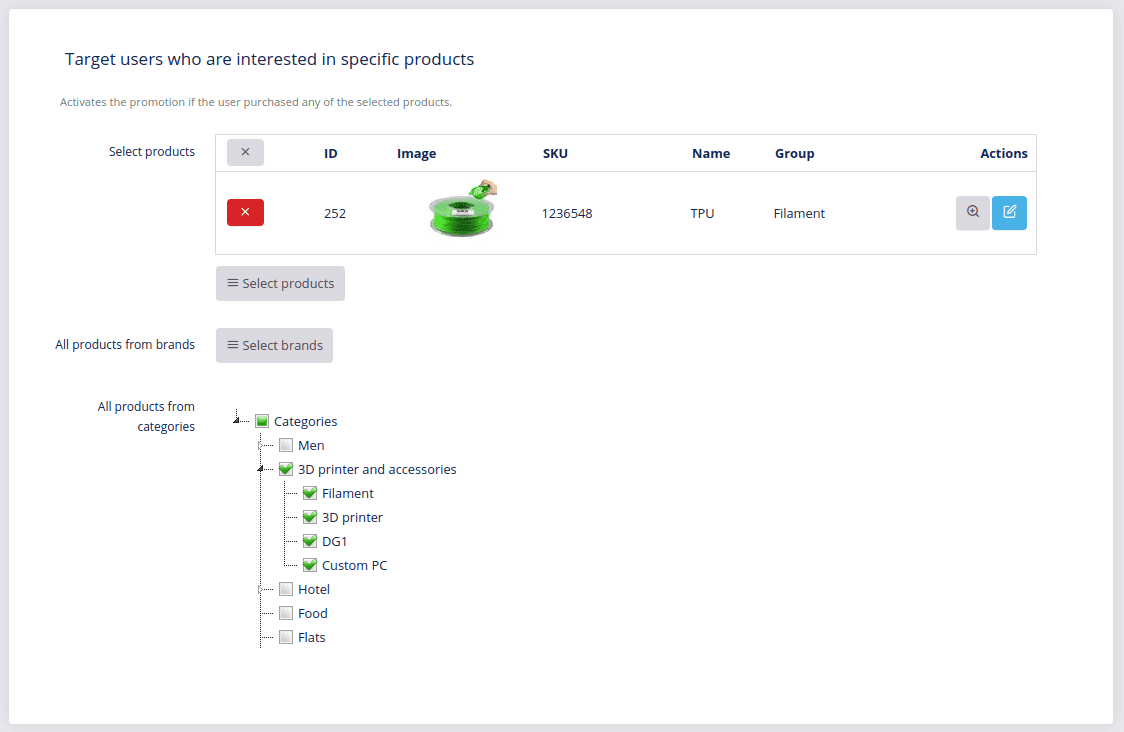
Target users who are only interested in specific products
Target users who are only interested in specific products, which means they will only have to flip a certain product in your front end view and they will be the ones targeted. You can choose between products, brands and categories.
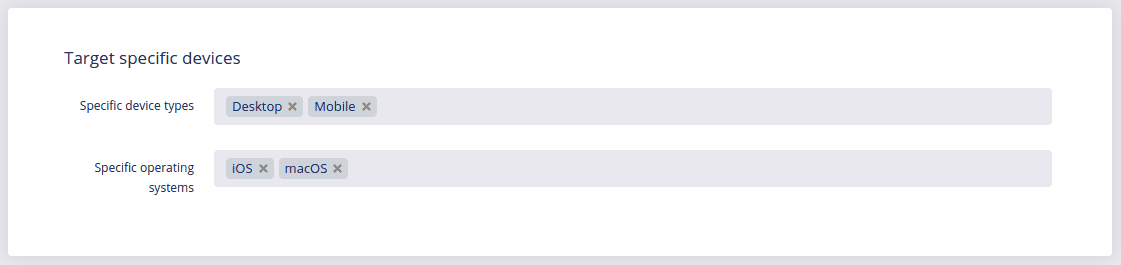
Target your viewers and users by specific devices
- Choose between Desktop, Mobile or All.
- You can be even more specific and select a Specific operating systems. Example: iOS.
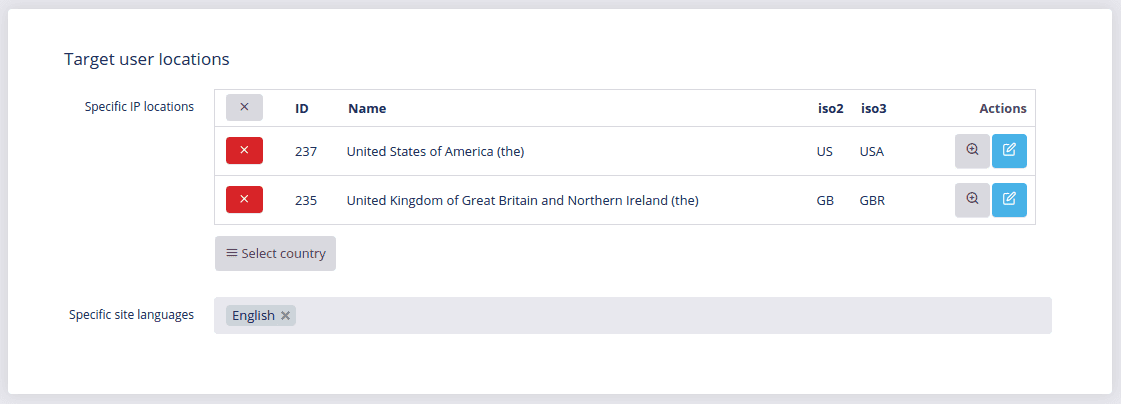
Target user locations
In multilingual online shop you can target users with specific IP locations or specific site languages. For IP locations click Select country. For specific languages click in the window and select one or multiple languages.
- SET PROMOTIONS - Here you set which promotions you wish to activate for the customers and site visitors you selected in the previous step. Make sure you set promotions in a smart way. Setting promotions should be your daily or weekly activity as only this way you will find out which promotions and which combinations work best for your business.
Inject banners into grid
Banners have to be prepared in advance. They are like little ads you can place in the grid instead of products. They are extremely useful for promoting any type of content. Click Add banner and the following options appear:
Set a starting position, where in the grid the banner will be displayed.
Decide whether you want to Repeat it and how many times.
Define amount of items between each Repeated banner in your products grid.
Banner size - choose between Single or Double (grid only). But be careful: the double size banners have to be already designed as double size and the single ones as singles.
Note
Double size banners will only be visible in the grid and not at the checkout or products list!
Select image (Banner image). For the Retina displays you have to choose a better image with better quality.
(Admin)

(Front end)

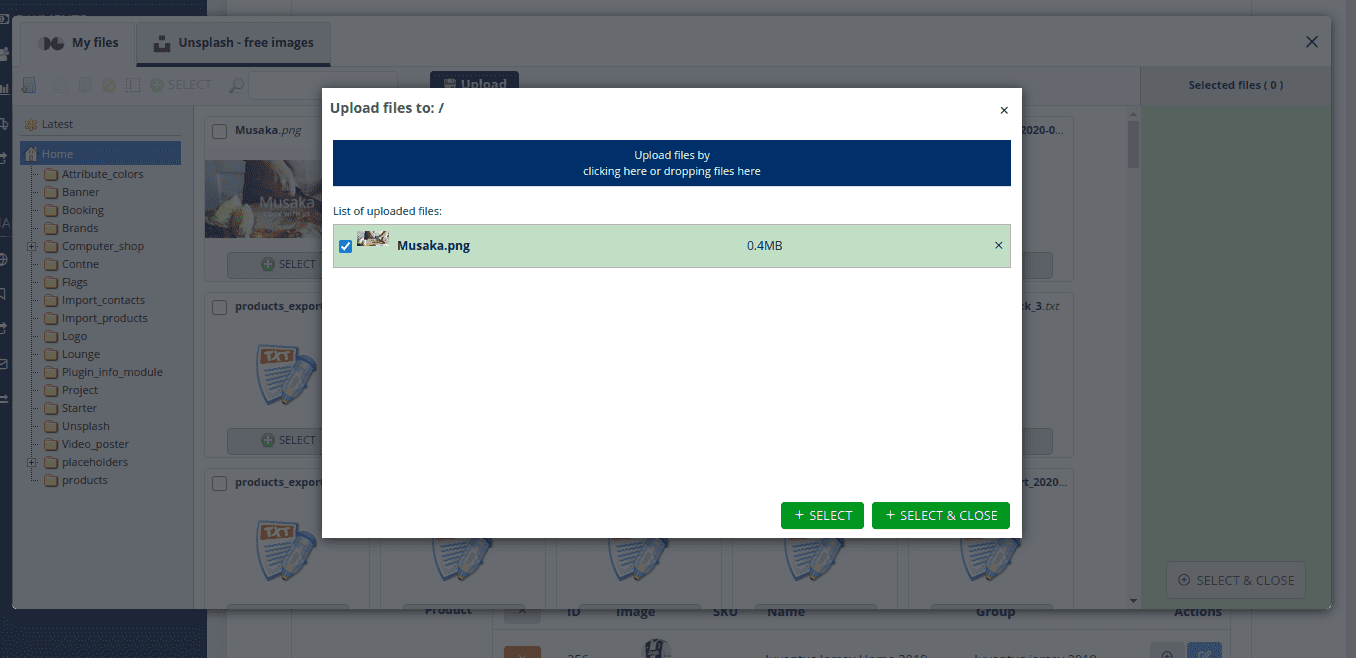
Upload a banner from your computer. Click Upload -> Upload files by. New window will pop up and after you select banner/image click Open. When the uploading is completed, click SELECT & CLOSE.
- Banner url - Use banner as a redirect link to specific content. Go to your front end view and find the page you would like to redirect your customers to, copy the URL and paste it in the form. Whenever people will click the banner it will redirect them to that exact page. You can add multiple banners.
Inject specific product into grid/products list
You can Inject specific product into grid/products list. Let’s explain what this means: Injecting specific products in grid means adding specific product to certain positions in the grid and repeat it after a certain amount of product places. With this type of promotion you can promote specific products and force their better sales or simply expose them for various reasons.
The injected and repeated products in your shop look like this:
Click Add product and then Select product. Example: you would like to promote TPU.
Set a starting position where in the grid the banner will be displayed. Example: position 4.
Repeats - Example: 2 repeats.
Repeat after - Example: 5 items.
Product size - Example: choose single.
Note
Double size banners and full width images are only available for product grid.
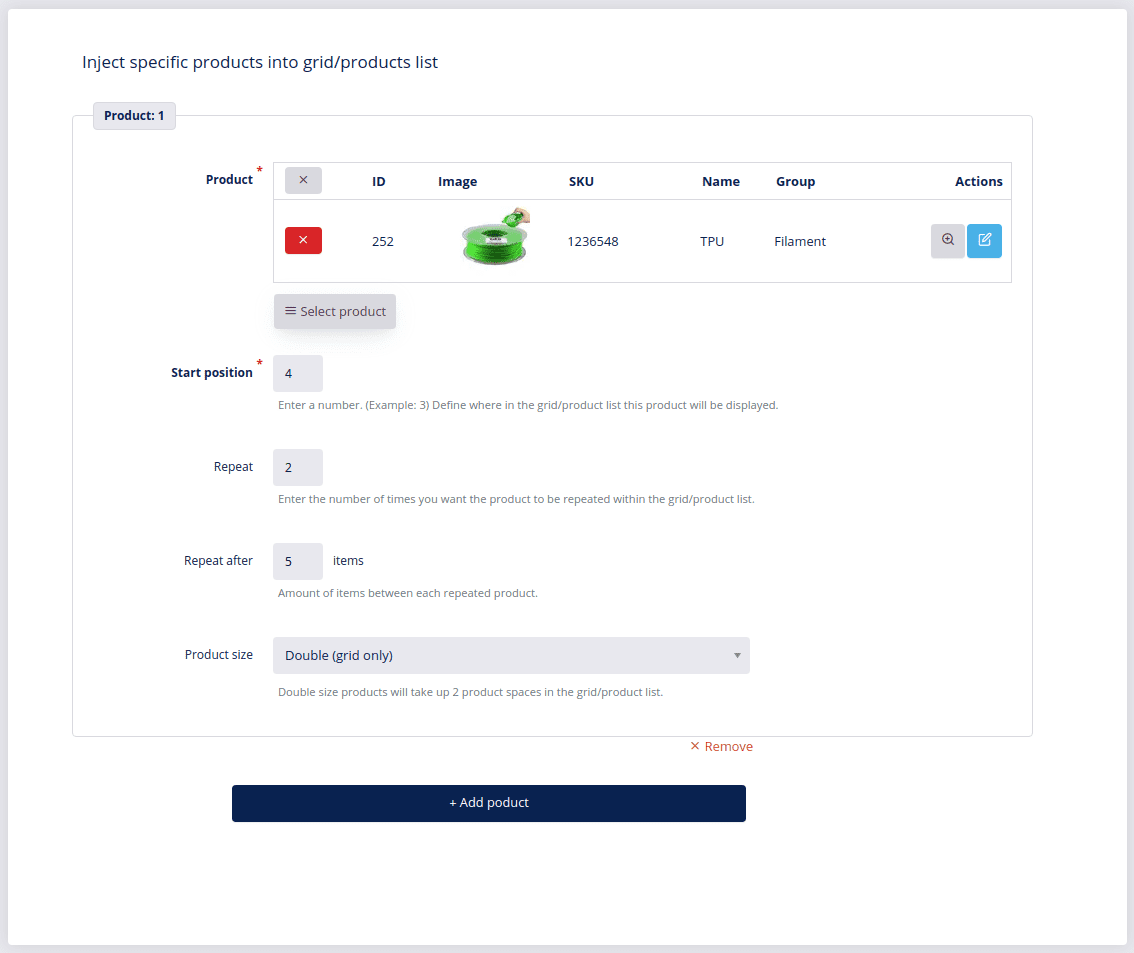
You can add multiple products, just like with banners.
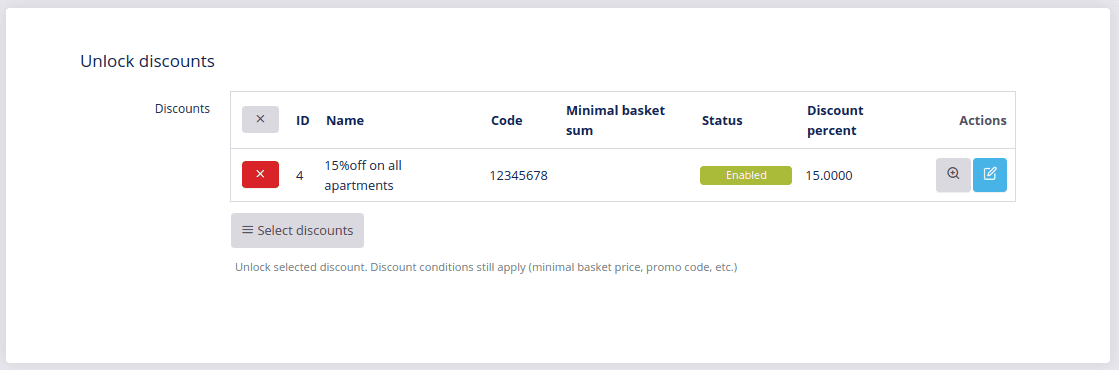
Unlock discounts
To Unlock discounts select one, check it and click OK. These discounts have to be already prepared in your discounts section.
How to add new discounts go and see DG1 discounts manual.
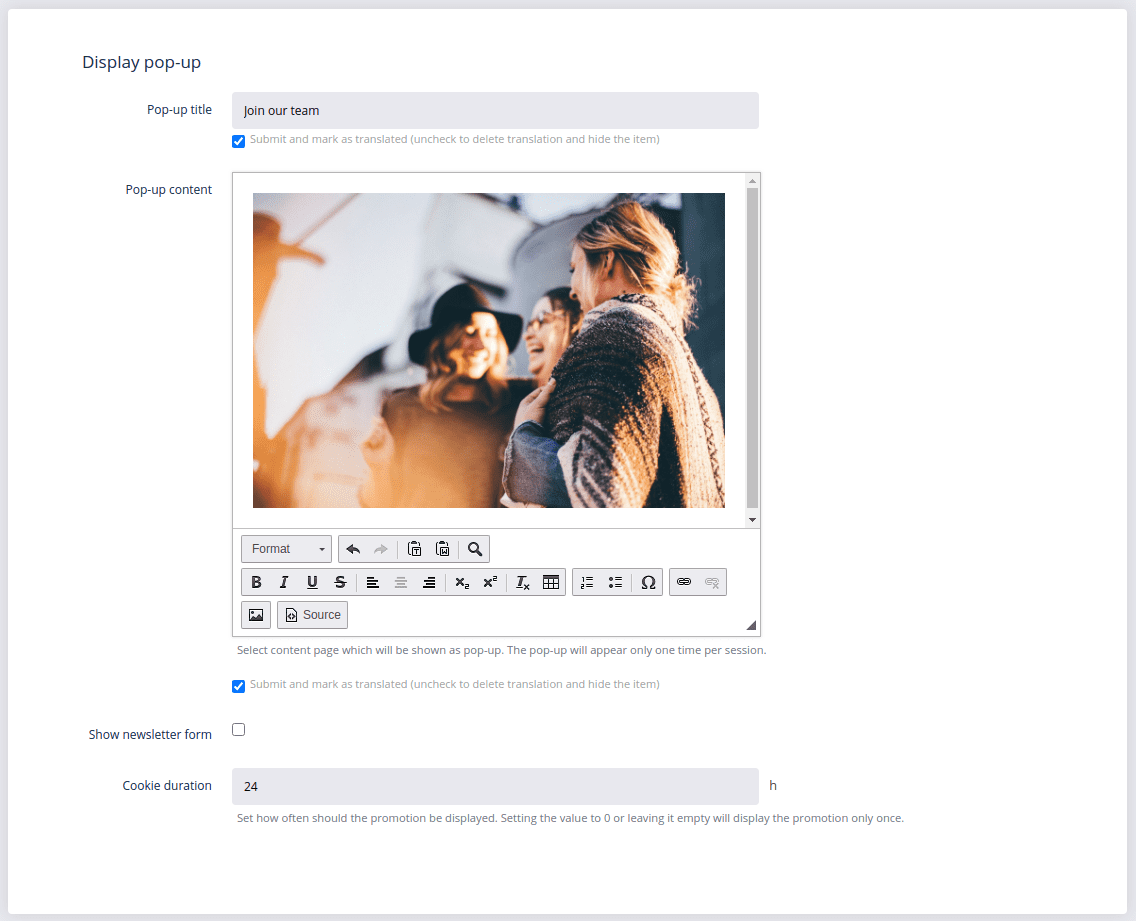
Display a Pop-up
- To display a Pop-up first add a Pop up title which will be visible in the pop up.
- Create a pop up on the fly by adding content to it. Use the editor to help you create content.
- When adding an image it is best to adjust the width to 100%.
- To add a newsletter form, check the Show newsletter form checkbox.
- Cookie duration sets how long will the cookie of the pop up last. Set the time of the cookie duration in hours or minutes. The time must be written in the format of these examples:
- 15 minutes: 0,25
- Half an hour: 0,5
- One hour: 1
- One and a half hours: 1,5
- Setting the duration to 0 or leaving it empty will display the pop-up only once.
Pop ups are a great tool which help you deliver certain information in a way it can not be ignored. It is a smooth way to invite and redirect your customers to specific content. Example: Subscribe to your newsletters.
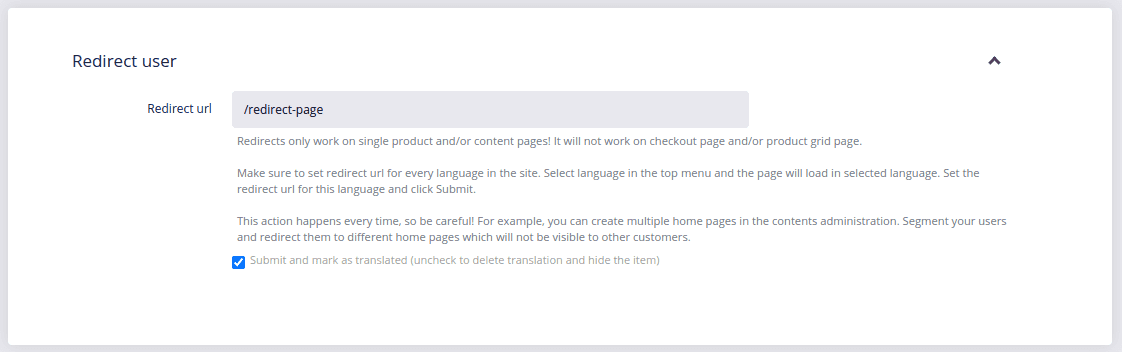
Redirect user
To Redirect user to a different website, homepage, enter the URL. It helps you redirect specific and targeted users and segment them according to their previous shopping journeys. It is a great tool for dividing high-end customers or customers with specific requirements. Redirects only work on single product and/or content pages.
Note:
Never set redirect URL for checkout page. This way you would create an infinite loop of redirects and customer would never be able to finish their shopping. Make sure you do this for each language in case of multilingual online shops. Redirection will happen every time.
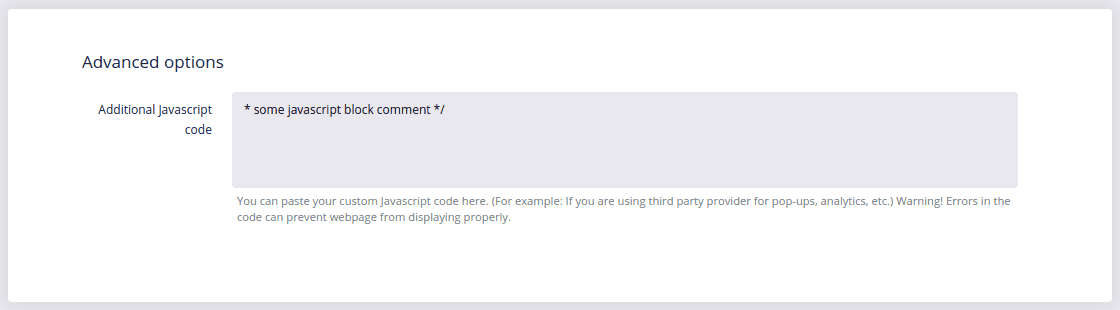
Advanced options
Advanced users can add JavaScript code under Advanced options for targeting and actions.
- SET LOCATIONS - Setting locations is easy. Make sure you choose locations for your promotions from the previous step with care. Offer products you think your customers need, but were not really looking for.
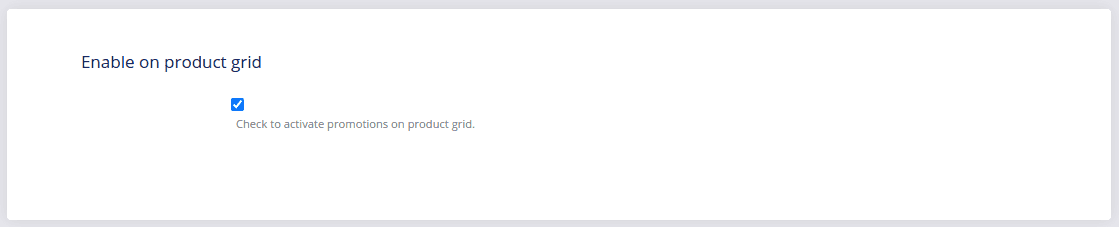
Enable promotions on product grid
Check to enable promotions when customers visit product grid.
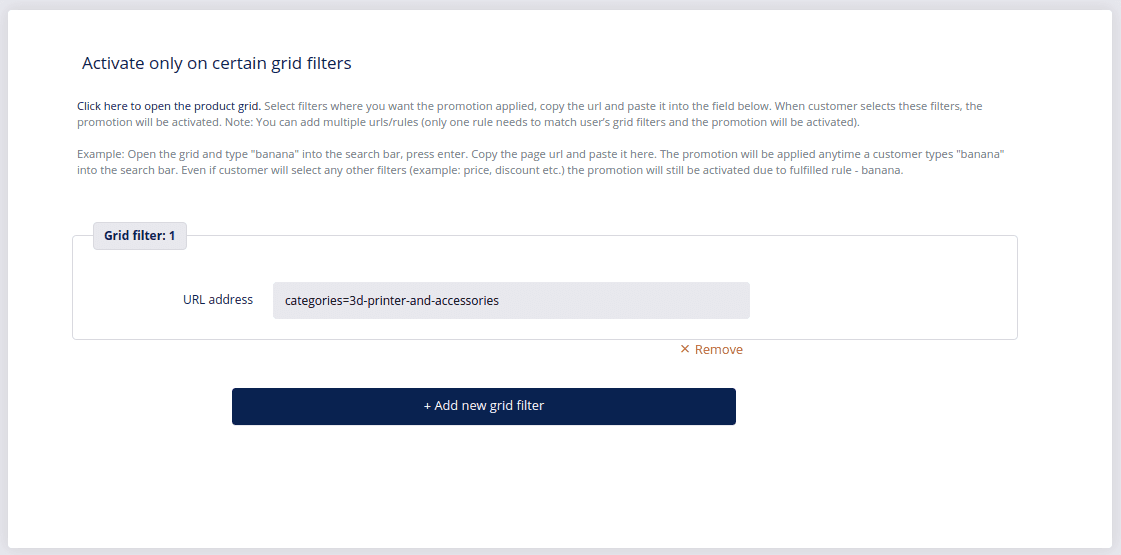
Activate the promotion only on certain grid filters
To Activate the promotion only on certain grid filters, add the URL address from your front end/website. Example: in your shop choose desired filters and then copy/paste the URL into the URL address field. You can add multiple grid filters, but make sure you do not narrow down your promotion too much as it might reach too few people.
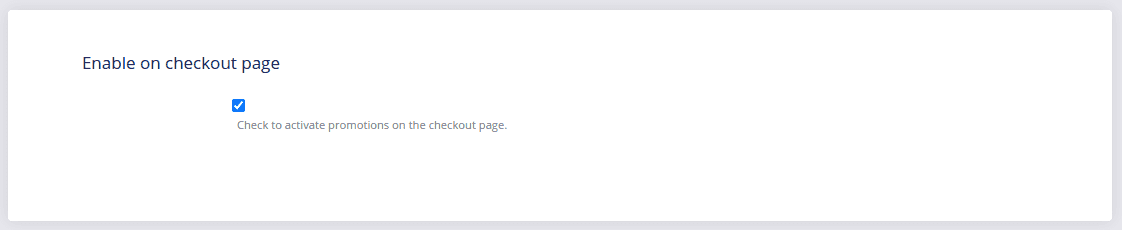
Enable on checkout page
Check to enable promotion on the checkout page. Promotion at checkout helps selling products before customers conclude their shopping.
Be careful not to set a redirect URL type of promotion to this location.
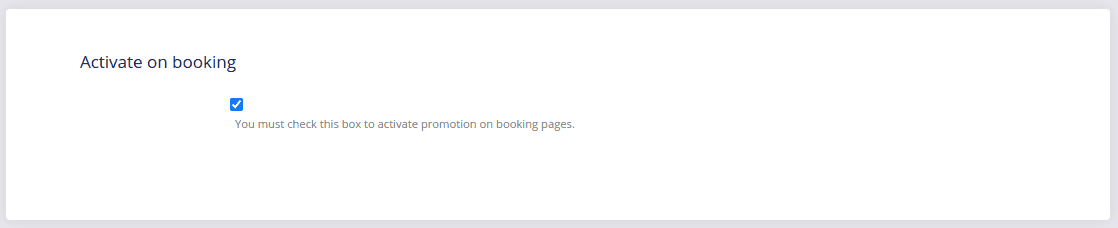
Activate on booking
Check to activate the promotions when customers click the booking and start making a reservation.
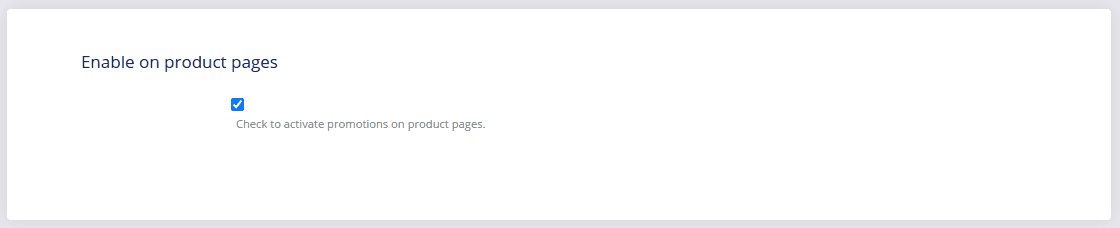
Enable on Product pages
Enable promotion on Product pages means the promotion will be seen, when customers visit the product details page.
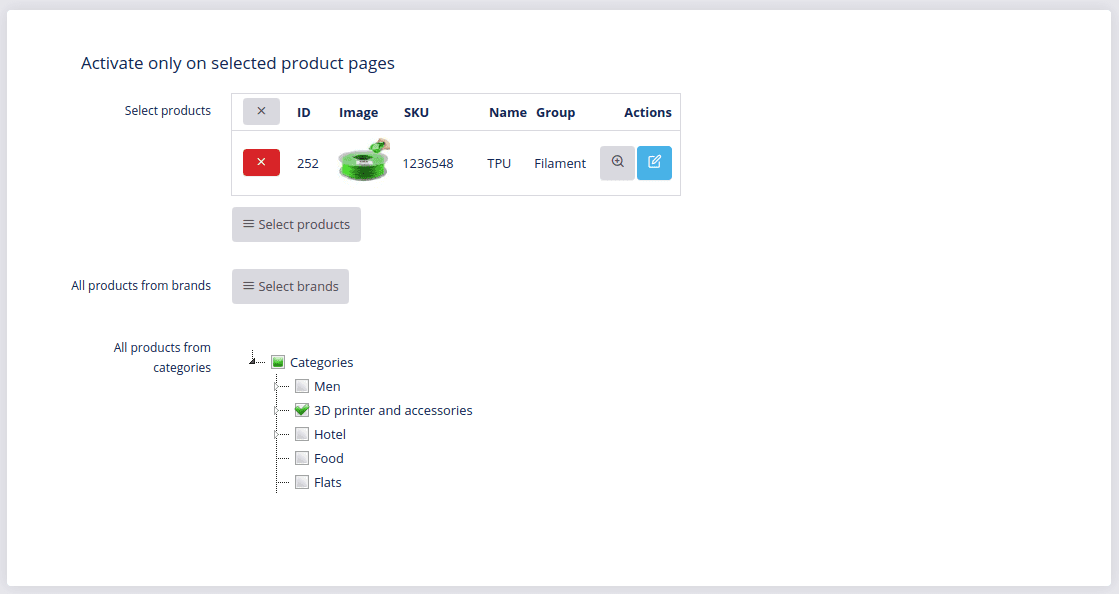
Activate promotion only on selected Product pages
You can activate promotion only on selected product pages, brands or categories.
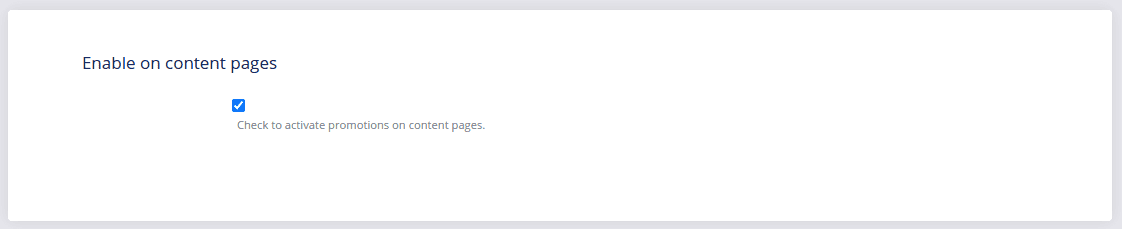
Enable on content pages
Enable promotion on Content pages means you can set promotions when customers visit any of the content pages.
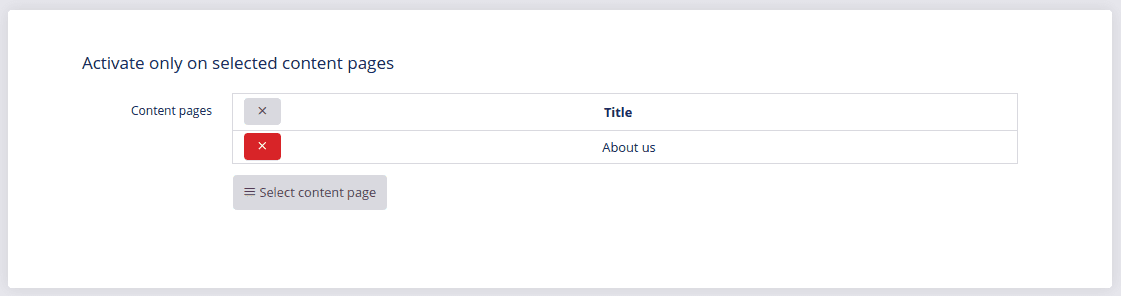
Activate only on selected content pages
To activate promotions only on specific content pages, click Select content page and choose the desired one.
- After adding all your information click Submit
 .
.
You can change the columns view of your saved promotions by clicking View options ![]() . Check the options you would like to see. Example: Activated from, Activated until, Activated on products grid, etc.
. Check the options you would like to see. Example: Activated from, Activated until, Activated on products grid, etc.
To get rid of the columns click View options ![]() again and uncheck the boxes for simple and more clean view.
again and uncheck the boxes for simple and more clean view.
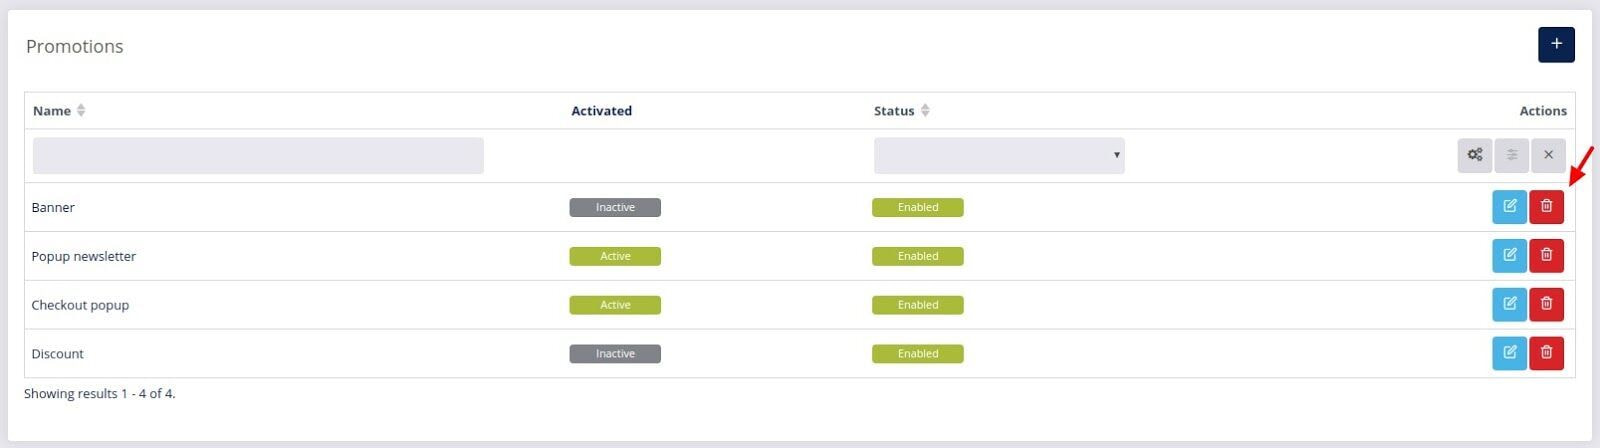
- Once you created a promotion it will always remain there even if it is currently disabled. Status: Enabled/Disabled - defines if the promotion is going to apply to products, brands or categories in your online shop.
- The Active/Inactive labels define whether the promotion is activated within a specific time frame.
# Edit promotion
If promotion is inactive, because it is already out of date, you can edit it by clicking Edit ![]() . You can activate and enable this type of promotion. All you have to do is click Enabled and you have to put it in the specific and correct time frame. Confirm all changes with Submit
. You can activate and enable this type of promotion. All you have to do is click Enabled and you have to put it in the specific and correct time frame. Confirm all changes with Submit ![]() .
.
To disable promotion, even if it is active within specific time frame click Disabled and confirm it with Submit ![]() .
.
# Delete promotion
To permanently delete a promotion click Delete ![]() and confirm with OK.
and confirm with OK.